A Winter Bootcamp Guide
The Sheridan Animation program is one of the most competitive in the world. Each year, thousands of students apply, but only a small percentage earn a spot. What separates successful applicants from the rest?
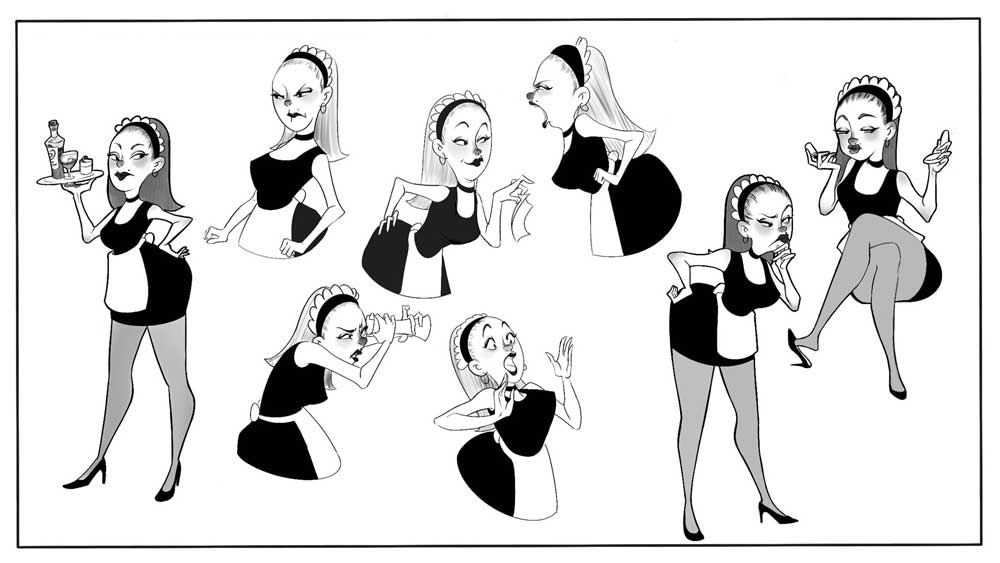
1. Strong Drawing Fundamentals
Sheridan’s evaluators emphasize:
- gesture drawing
- character design
- perspective accuracy
- clean linework
- storytelling clarity
Practicing these fundamentals consistently is key.
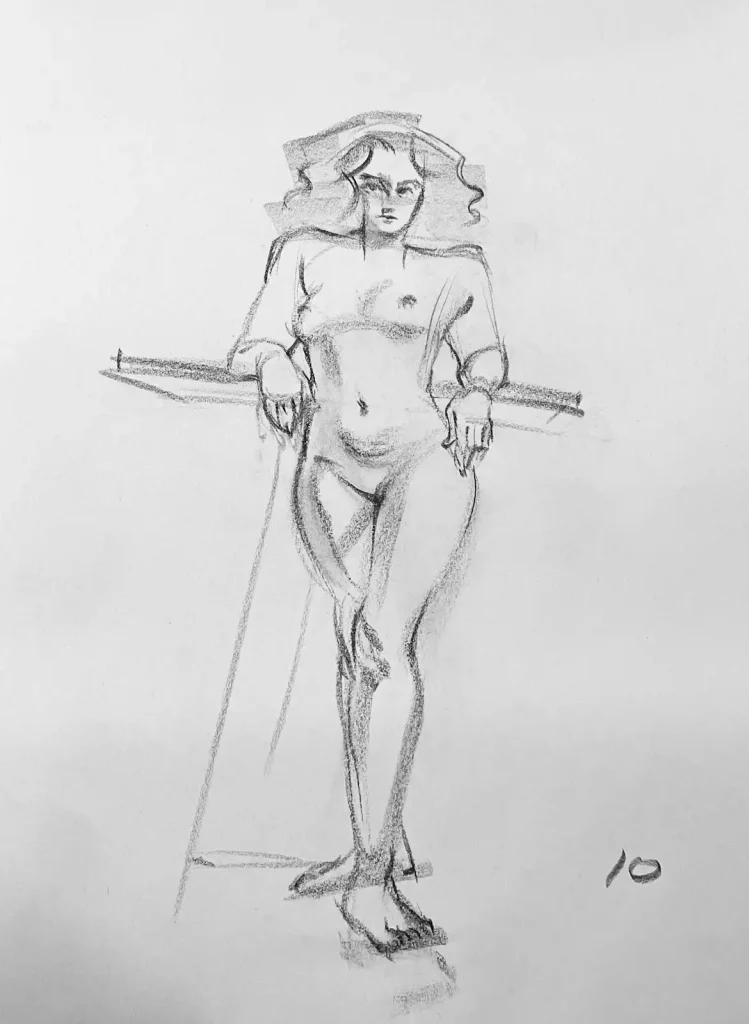
2. Observational Drawing Over Style
Many students mistakenly focus too much on stylized work. Sheridan wants to see that you can draw confidently from life before applying creativity.
3. Clear Storytelling in Storyboards
Your storyboard test needs clear poses, readable expressions, and engaging story progression. Many applicants lose points here without realizing it.
4. Avoid These Common Mistakes
❌ Over-rendering instead of clear structure
❌ Stiff gestures
❌ Weak proportions
❌ Characters lacking volume
❌ Unclear or rushed boards
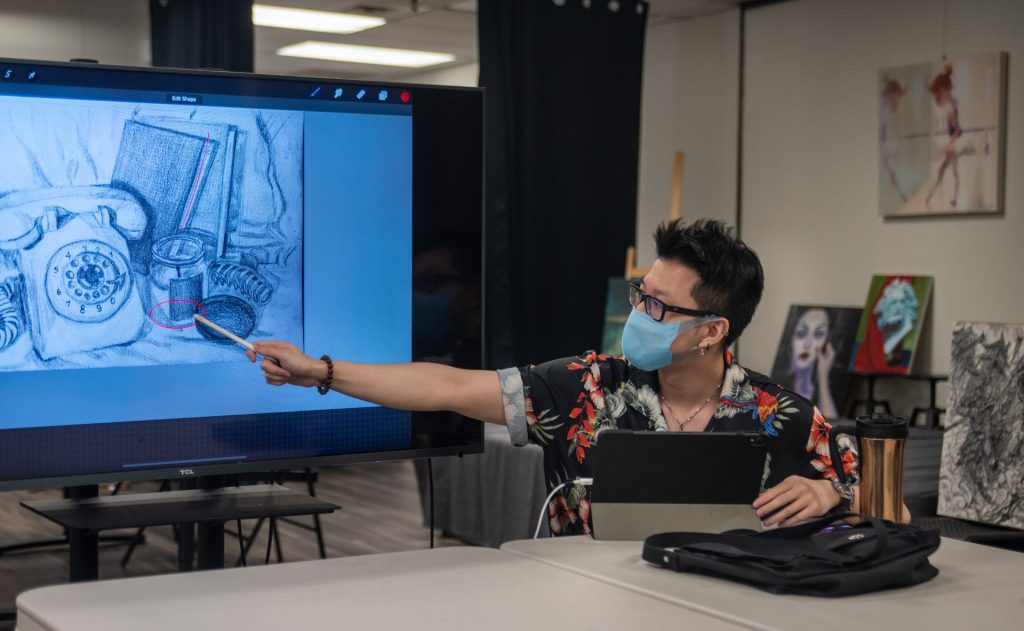
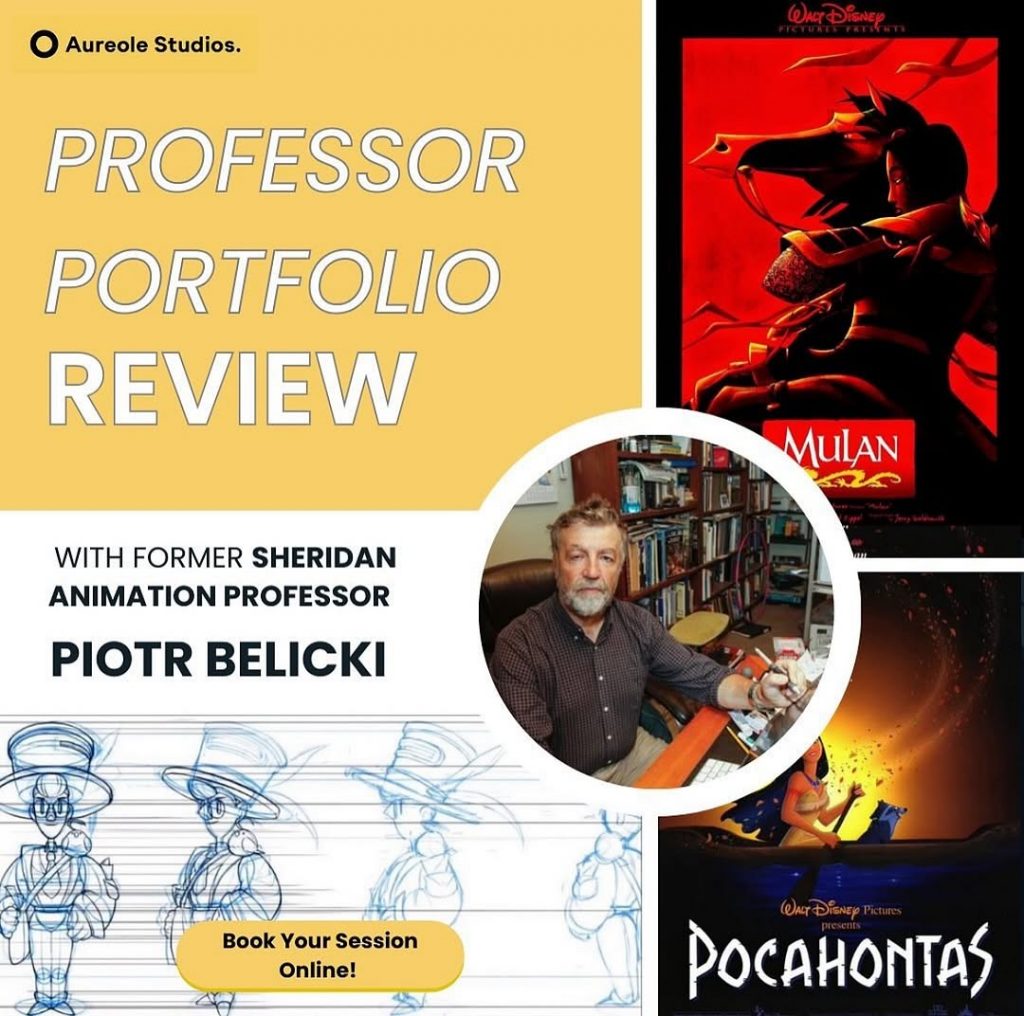
5. Why a Winter Bootcamp Helps
The Animation Portfolio Winter Intensive Bootcamp at Aureole Studios helps you sharpen the exact skills Sheridan evaluates. With targeted training and personalized critique, students drastically improve in just 8 days.
What You’ll Build:
✔ Gesture lineup
✔ Clean character turnarounds
✔ Storyboard sequences
✔ Observational studies
✔ Polished portfolio-ready pieces
Boost Your Sheridan Portfolio Today
👉 Join the 8-Day Winter Intensive Bootcamp and get expert-guided portfolio preparation.